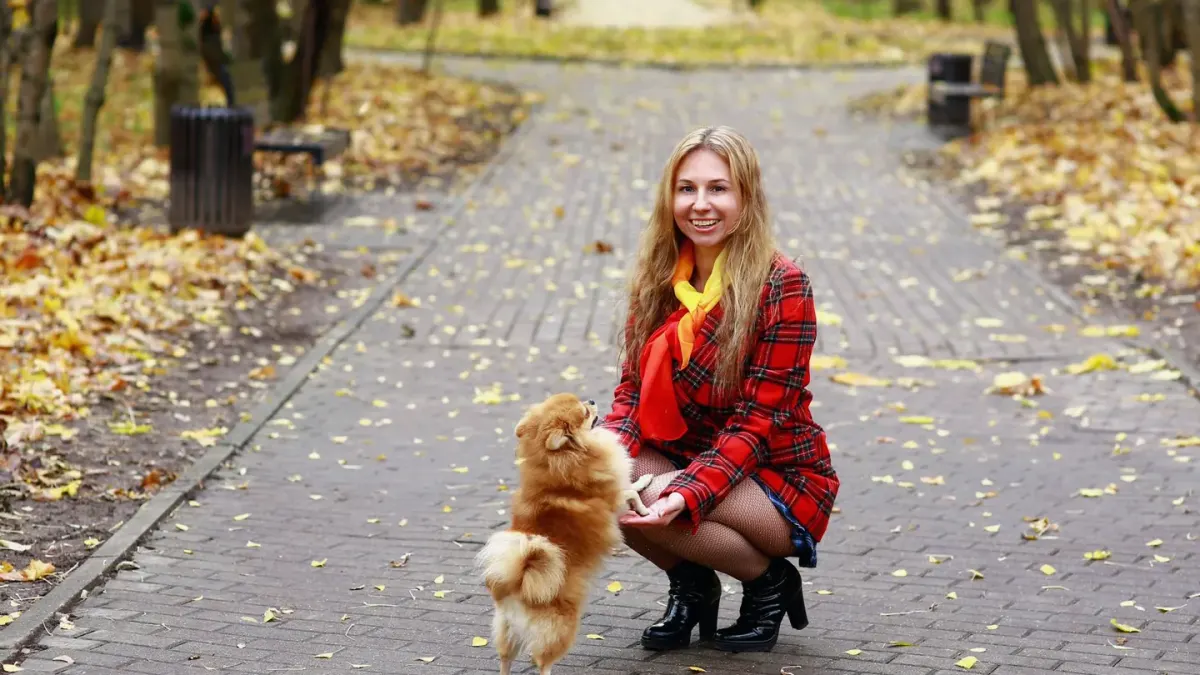
To proof a cue around bicycles, you have to decide: chase obedience in the moment, or set up training so your dog can succeed before the wheels fly past?
Choose the second. A cue that works in your kitchen is only a baseline behavior, not a finished recall or sit-stay. Bicycles add speed, whir, and chase drive all at once, and shouting louder through that arousal does not build reliability.
Here is my checklist-first answer for proofing any cue — sit, down, touch, place, recall — around bikes:
- Lock the indoors baseline: 8 of 10 correct with no luring
- Start at 40+ feet from a slow bike path, reward placement over bribery
- Add one variable at a time: distance, then motion, then number, then sound
- Pay for disengagement: mark and reward look-aways, not just holds
- Plan the miss: leash mechanics and an exit beat a repeated cue every time
That sequence may help support calmer responses without flooding your dog. The AVSAB position on humane training favors this staged, reward-based approach over correction when arousal is high, and in practice it holds up far better.
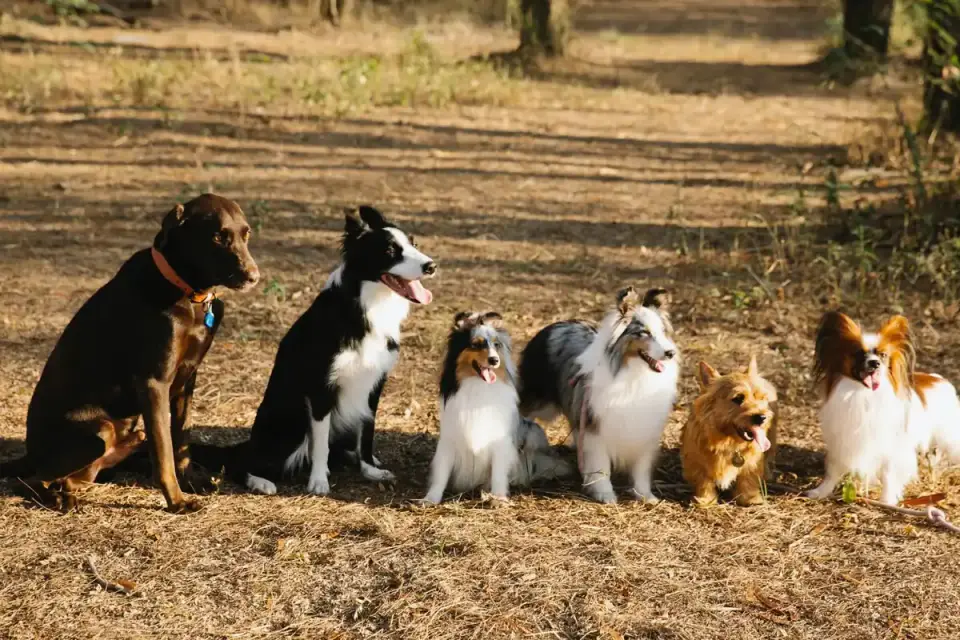
Will you test the cue, or train through the trigger?
Most owners test. They wait for a Saturday greenway, bikes everywhere, then ask for a sit-stay at 10 feet and repeat it four times while their dog lunges.
Training through the trigger looks different. You pick quiet times, bring high-value food, keep your dog under threshold, and leave before the failures stack. If you want a marker that stays clean at speed, review clicker vs. verbal marker basics before you add wheels.
Larry learned this with Luckie, his 10-year-old neutered male Portuguese Water Dog in Little Rock. Luckie held a solid down at home but popped up barking every time a bike passed within 20 feet. Larry switched to 7 a.m. sessions at 50 feet from the trail, marking every glance-then-look-back with cheese. Within three weeks Luckie could hold a 30-second down for two slow passers at 30 feet.
That is proofing: same cue, gradually harder context.
The 5-step bike sequence that actually holds
Expand the checklist in order. Do not skip ahead.
1. Confirm the baseline indoors. Your dog should respond to the cue word once, within two seconds, 8 of 10 times with normal distractions. If you are still luring with a treat in your fist or repeating the word, the cue is not ready for bikes. For a refresher on clean cue mechanics, see can you train without treats.
2. Go boring and far away. Start where bicycles are visible but not exciting — often 40 to 60 feet off a path, dog on a 6-foot leash and harness. Ask for something easy and well-paid, like touch or sit for one second. Pay within one second of the marker.
Keep sessions short: five reps, then a sniff break.
3. Add motion in slices. Change only one thing per session. Stationary bike with rider standing nearby, then rider walking the bike, then slow ride past at distance, then two riders, then faster speed. If latency doubles or your dog cannot disengage, you jumped too far. Add distance back.
Low-stress handling matters here. Loose leash, angled body, permission to move away. Tension up the leash telegraphs that bikes are scary.
4. Reward the choice you want. Do not only reward the stay. Mark the moment your dog notices the bike and chooses you — ear flick, glance away, check-in. That disengagement is what you will need on a real trail.
This is where timing beats treat value.
5. Rehearse the miss. Every proofing plan needs an emergency script. If a bike surprises you at 15 feet, do not repeat “sit, sit, SIT.” Smile, say your recall or “let’s go” once, jog 10 feet off the path, and pay generously for following. Management is not failure; it protects your training history.
The AKC training basics make the same point about short, positive reps: stop while your dog is successful, not after frustration sets in.
Where I bend it for real dogs
My evidence-bounded recommendation: stage distance first for almost every dog, then add motion. Expectation first — most pet dogs need two to four weeks of 5-minute sessions, three to four days per week, before they hold a cue for a close pass.
Where the alternative wins: young, bike-obsessed herders and terriers sometimes do better starting with controlled movement at a greater distance rather than a close stationary bike. Motion at 80 feet is less pressuring than a strange bike looming at 20 feet.
Where it stops winning: fearful or reactive dogs that bark, lunge, or freeze. Vets often see arousal tip into distress around fast wheels, especially in adolescence. If your dog cannot take food, pants heavily, or reacts beyond 50 feet, pause proofing and work on desensitization and counter-conditioning instead — or get coaching. A private session versus a group setting makes a big difference here, as outlined in group classes vs. private vs. online training.
One paragraph to remember.
You are not teaching sit. You are teaching sit-even-when-wheels-whir-past, and that only builds in layers your dog can win.
Sources
- AVSAB Position Statements — AVSAB
- Expert Advice: Training — AKC